
I have been a
busy girl as far as my little sewing oasis is concerned. Now that I’ve gone through everything and
done a final purge I’ve been spending some time a couple days each week
organizing everything to make it more functional. In the process I’ve also been making my own custom
storage containers out of cardboard, fabric and contact paper to make it look
prettier. I think I can do a little
better than the old plastic storage bins I have been using.
 |
| This scrap of fabric I had in my stash was perfect |
Although they
definitely work to contain my stuff I don’t think they are all that pretty and
I want my sewing room to be pretty in all aspects. One of the first things I did was to create a
little storage bin for my serger size spools of thread. Before, they were just sitting on the shelf
and I had no trouble knocking them over every once in a while. Now they sit inside this cute little bin I
made with a piece of scrap fabric I’ve had for ages, some quilt batting scraps
I’ve also had for ages and a small Amazon shipping box I had tossed in the
recycle bin.
 |
| The ribbons fit inside perfectly |
 |
| My grandma's picnic wasn't getting used, but now it sure will |
I was so pleased
with how that turned out I decided to see what else I had around the house to
use for storage and was thrilled to finally have a use for my grandmother’s old wicker picnic basket. I moved all of my ribbons in there and they
fit perfectly. Even better the picnic
basket fits perfectly on the shelf, like it was made for just this purpose and
this spot.
 |
| New pattern organizers I made out of cardboard & contact paper |
I made two
pattern organizers out of the leftover flaps I had cut off the box I used to
make the doll bed and used a roll of pretty floral contact paper from the
dollar store to cover it. I made the
labels using my die cutting machine. I
found this project was a lot of fun.
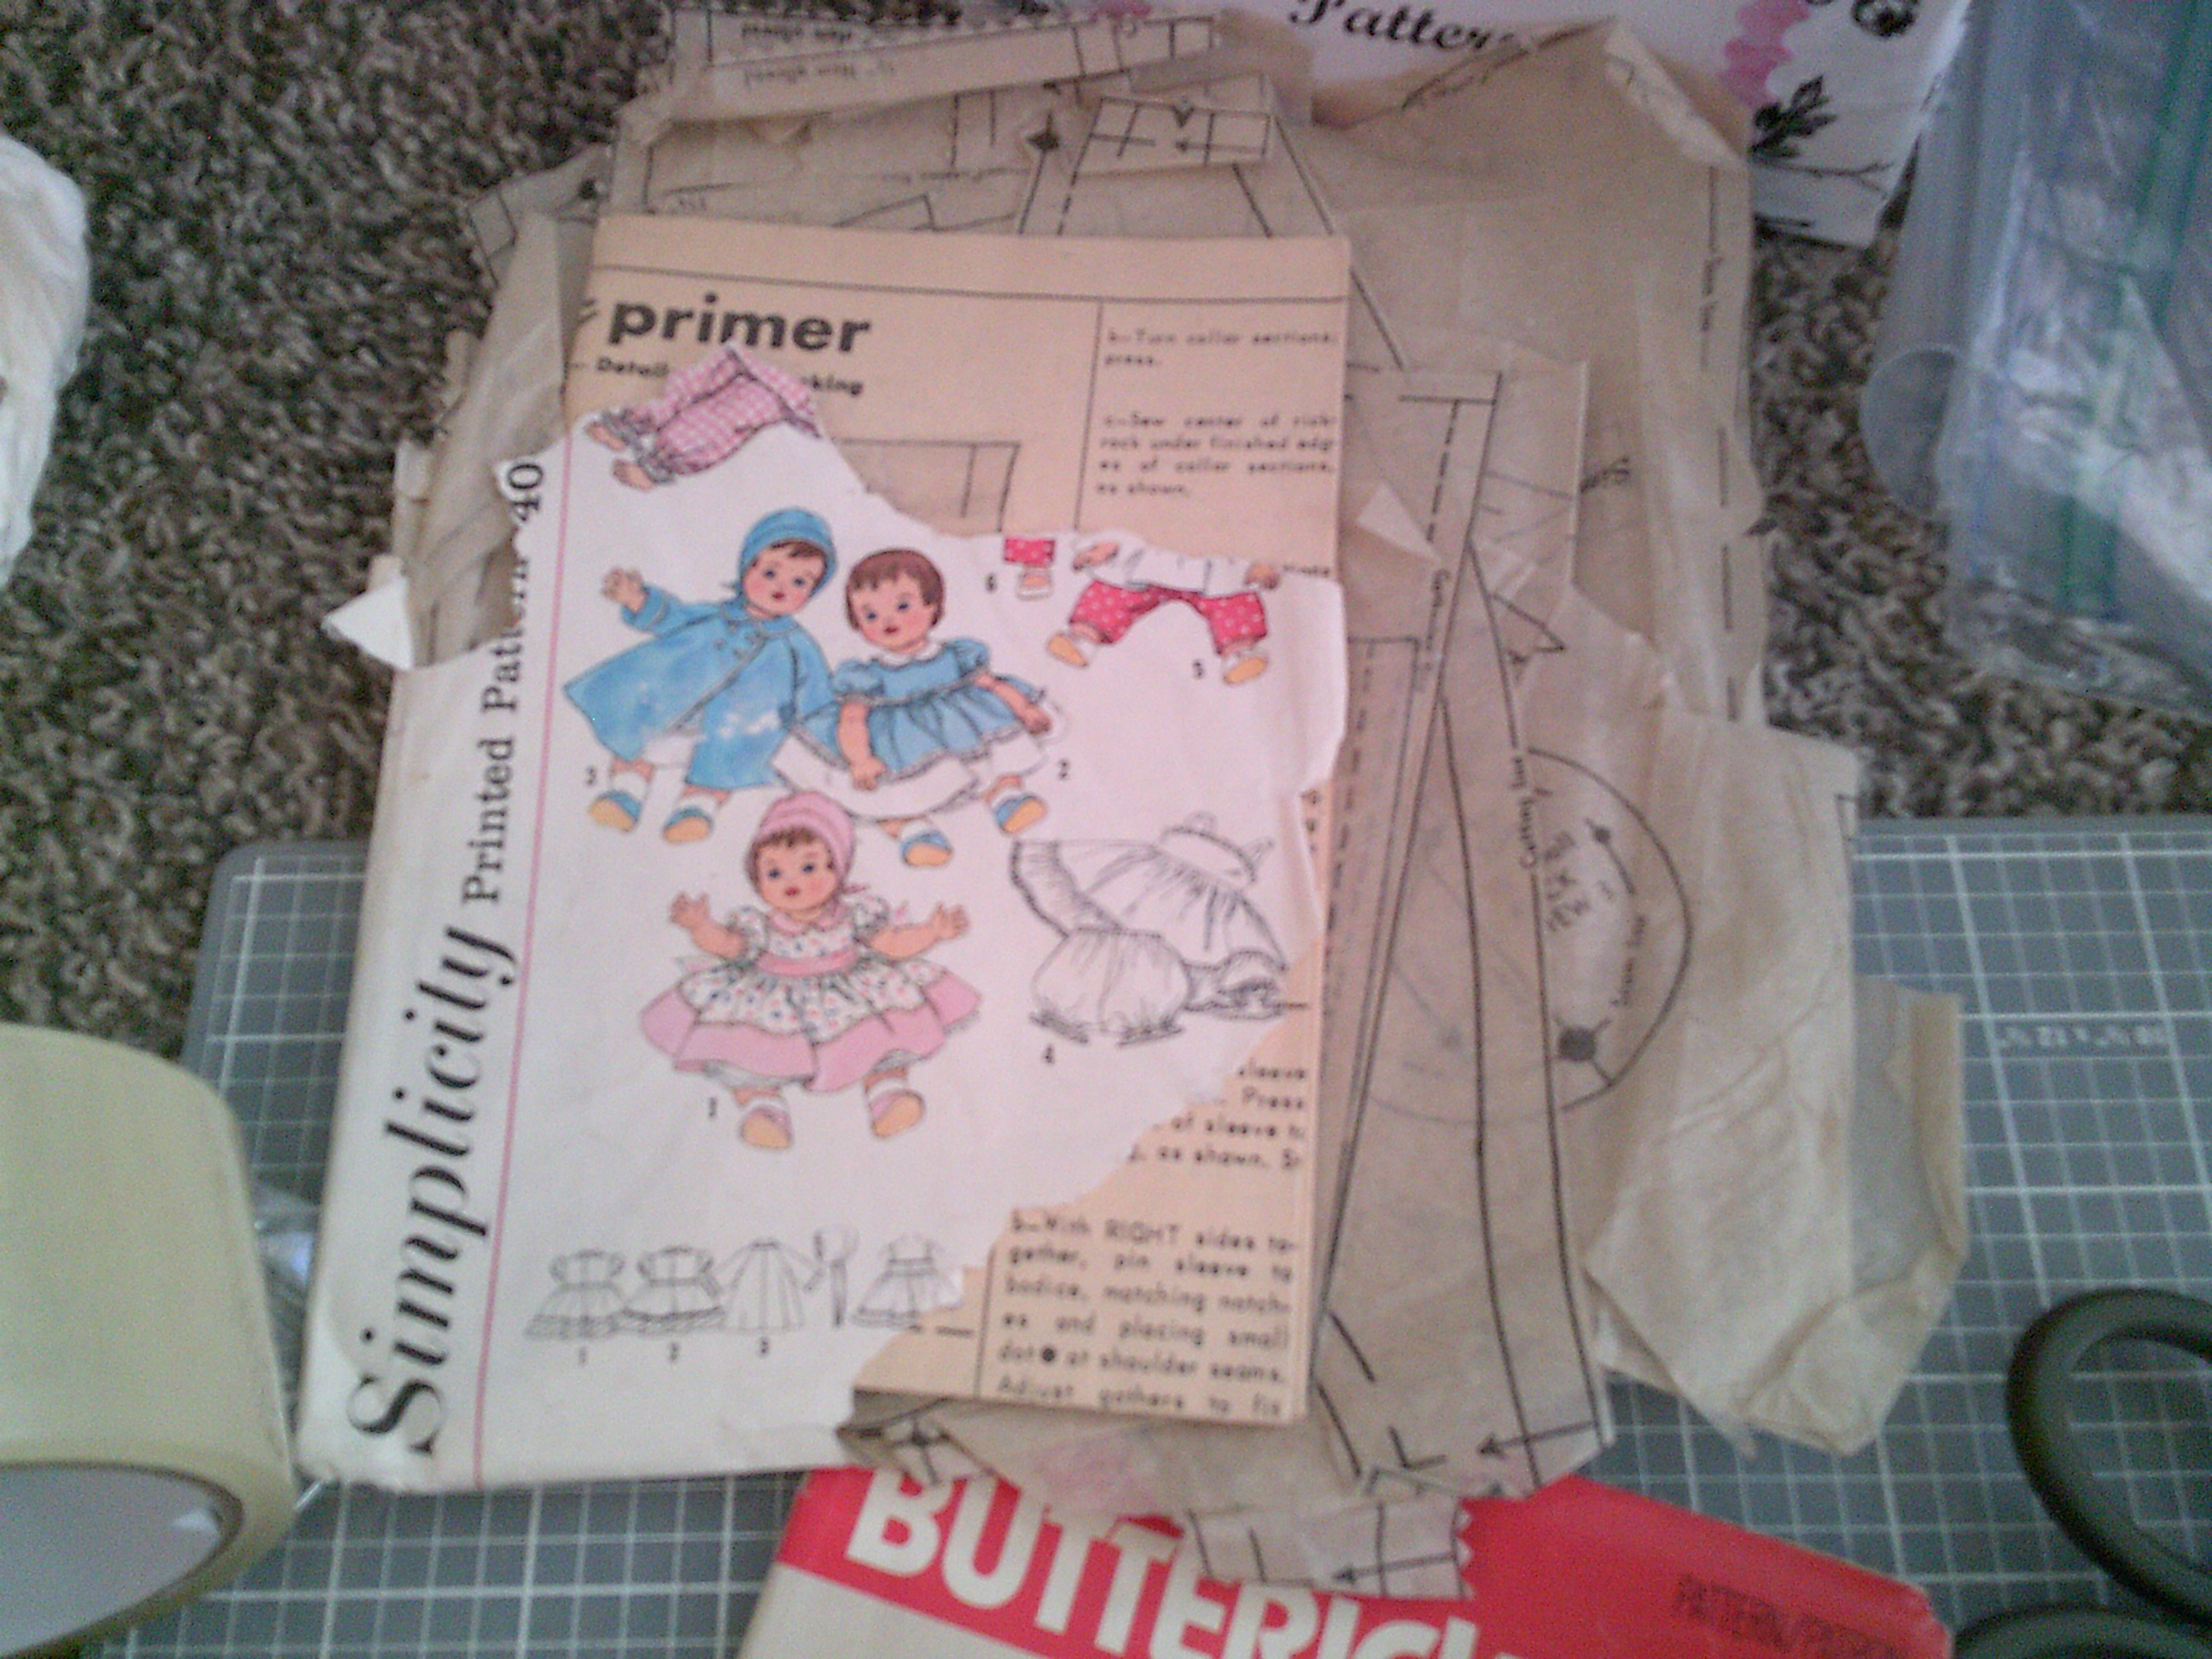 |
| This pattern envelope was torn beyond repair and missing pieces (I actually purchased it this way after lots of use) |
 |
| My new version includes the back of the envelope as well |
After that I
spent some time going through my pattern and repairing the torn and tattered
envelopes. One pattern in particular was
missing pieces (I actually bought it that way) so I Googled the pattern number
and found images online. I copied those images
and printed them out. I then cut down a
manila envelope to the right size and used clear packing tape to add the front
and back images to the envelope.
 |
| This is such a cute old box I had to incorporate it into the room |
I had a vintage
pattern storage box with a lid that my mother had given me quite some time ago. I repurposed it to hold all of my elastic. I think it works much better to hold the elastic
and it looks nicer too. I made a die cut
label for it as well.
 |
| Now they won't tip over and if anything leaks it won't get on my table |
With leftover
scraps of cardboard and some scrapbook paper I even made a cute little bin to
contain my bottles of sewing machine oil and fabric glue. I added a solid layer of clear packing tape
to the bottom so that if anything might leak it won’t get onto my sewing table.
 |
| Serger spools sit nicely in a mason jar and won't roll all over the place My great grandmother made the crocheted pin cushion on the right It is one of my many sewing treasures I inherited from her |
I’ve always used
a mason jar to hold my serger spools so they don’t roll of the table when I use
them with my sewing machine. It works
great, but I had this pretty blue one sitting in my kitchen cupboard so I swapped
it out and added a little bit of ribbon, just because.
 |
| My mom gave me the clear spool organizer on top It's a little battered up from lots of use, but I'm keeping it! |
 |
| Fabrics are all neatly stored under the bed |
 |
| All organized by type and color cause that's how I roll |
 |
| I'm ready to get to work on my next projects! |
I love all of
these new little touches I’ve added to the room and I’m sure, as time goes on,
I’ll find other little things to add to my new space. I’m having a lot of fun with it. If you are interested in more details on how
I made some of my new containers be sure to check back with me on Friday. I’ll be sharing the “how-to” on how I made
them.
I love it! Very inspiring!
ReplyDelete~margaret
Thank you Margaret
DeleteYour room is looking so great! I absolutely love the scrapbook paper you used to cover the little box holding your fabric glue! Super cute!
ReplyDeleteThanks Mandy!
DeleteHow fun!!
ReplyDeleteCan't wait until Friday. Everything is so cute. Thanks for sharing.
Yay!
DeleteLooks great! Love all your special touches!
ReplyDeleteMe too! Thank you Kathy.
Delete