 |
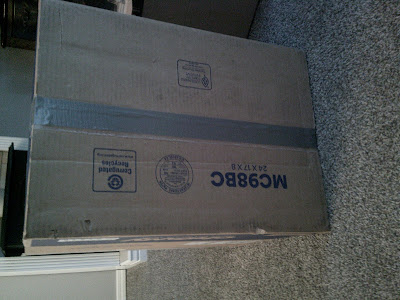
| This box got pretty dirty in shipping so I wiped it down real well with a damp rag |
 |
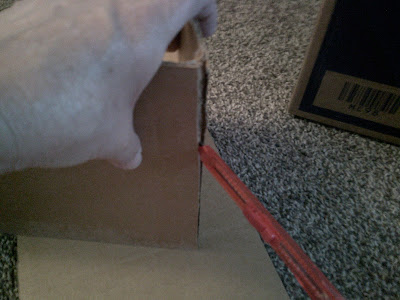
| It also had a bit of shipping damage which I fixed with a dab of glue |
Of course, I’d
decluttered my scrap wood so my garage was empty and to go to Home Depot and
buy stuff, well we might as well just go get something off of Facebook at that
point. But what I did have in my garage
were a few flattened delivery boxes from Amazon and Chewy that I’d save for “just
in case”.
 |
| I cut off three of the upper flaps and taped down the flaps on the bottom |
 |
| The two longer flaps were cut down and used to make the headboard |
 |
| Score with a razor knife where you want your cut |
 |
| Bend at the score line and then complete the cut |
I decided to use
the Chewy box to construct a doll bed by first wiping it off with a damp rag to
remove any dust and putting it back together.
I taped the bottom of the box with some duct tape I had in my garage to
make it good and sturdy. I then cut off
the two long side flaps and one of the short ends with a razor knife. Once I had done that my friend could see
where I was going with this.
 |
| After gluing the pieces onto the end for the headboard I reinforced it with duct tape too |
I reinforced all
of the corners on the box with tape as well repaired any damaged spots with a
dab of glue so I had really good surfaces.
Next I cut down the two longer pieces to the same length as the height
of the box and the one remaining flap.
With glue I placed them vertically along the back of the bed to form a
headboard. I used hot glue to hold them
in place while the regular glue dried as any type of clamping would’ve left
dents in the cardboard.
 |
| I happened to have a roll of contact paper in my donation bag |
I pulled a roll
of Dollar Tree contact paper out of my donation bag in the garage and we
covered the outside and inside of the box.
The nice thing about this contact paper is that it is repositionable so
it made it an easy process without pulling any paper off of the cardboard when
I needed to straighten it or remove an air bubble. I did find it sticks fairly well, but mostly
to itself so I overlapped my pieces just a bit so it would be nice and secure. Then I went over all of the edges of the bed
with clear packing tape so it would not only stay on really well, but also protect
it from wear and tear.
 |
| We only had the one roll of contact paper but with a second roll we will finish the inside of the bed |
By the time all
was said and done the little bed is quite sturdy. A standard bed pillow is the perfect size to
use for a mattress. We tested it out
with one I had in my guestroom. I now
plan to go through my fabric stash and make some bedding for this cute little
bed and I will be posting more about that later. Don’t you think this turned out cute?
 |
| I added duct tape along the edges as this box wasn't as thick as the Chewy box |
After my friend
left I was inspired to try another idea I had swirling around in my head. I used a standard size Amazon box, two rolls
of wood grain contact paper and some tape to make a bassinette/Moses basket
that is the perfect size for the American Girl Bitty Baby or any other baby
doll for that matter.
 |
| I think it turned out pretty good Might make a nifty little Christmas gift |
I reinforced the
bottom of the box along the seam of the flap with duct tape. I also taped along the edges of flaps at the
bottom inside the box. With a little
more cutting I trimmed the longer top flaps of the box so I left a piece the
same width as one of the shorter flaps and removed the rest. I left one short flap on the box like I did
the bed and trimmed off the other one.
 |
| Now they just need some bedding |
I taped the
short pieces of the longer flaps to the one remaining short flap at the corners
with duct tape. Then I placed the short
flap I’d cut off across the top and taped along the edges to form the bonnet of
the bassinette. With everything nice and
secure I then covered the outside with contact paper and then the inside, all
but the very bottom which will be covered with a pad. As with the bed I went around all of the
edges with clear packing tape to secure the contact paper, even along the
bottom of the box.
 |
| Perhaps something like this? |
I had a lot of fun
with these two projects. I think it
turned out super cute, it was easy to build, even the contact paper was
surprisingly easy to work with, and certainly economical. The two rolls of contact paper and a roll of clear
packing tape cost $3.75. And, as with
the bed, I’ll be making some bedding for this little bassinette. I hope you will look forward to seeing that
in an upcoming post.


That bed turned out so good! What a brilliant idea!
ReplyDeleteThanks Debbie!
DeleteSo cute! I love how resourceful you are! Everytime my grandson shows an interest in something his parents or other family member wants to buy something to reinforce that interest. I want to yell let him use his imagination or you use yours! Things from around the house can serve just as well. Drives me nuts!
ReplyDelete~margaret
LOL. Give him a cardboard box! :)
DeleteYou are amazing!!! That looks so cool. Jill
ReplyDeleteThank you Jill!
DeleteAdorable. Great job. Know the little girl will have so much fun.
ReplyDeleteI bet she will. :)
Delete(Little Penpen) how cute!!! The wood looking one is my favorite!!
ReplyDeleteMine too!
Delete